I have to confess right from the start, this craft was not mine in the making, but it was so much fun that I had to share it with everyone.
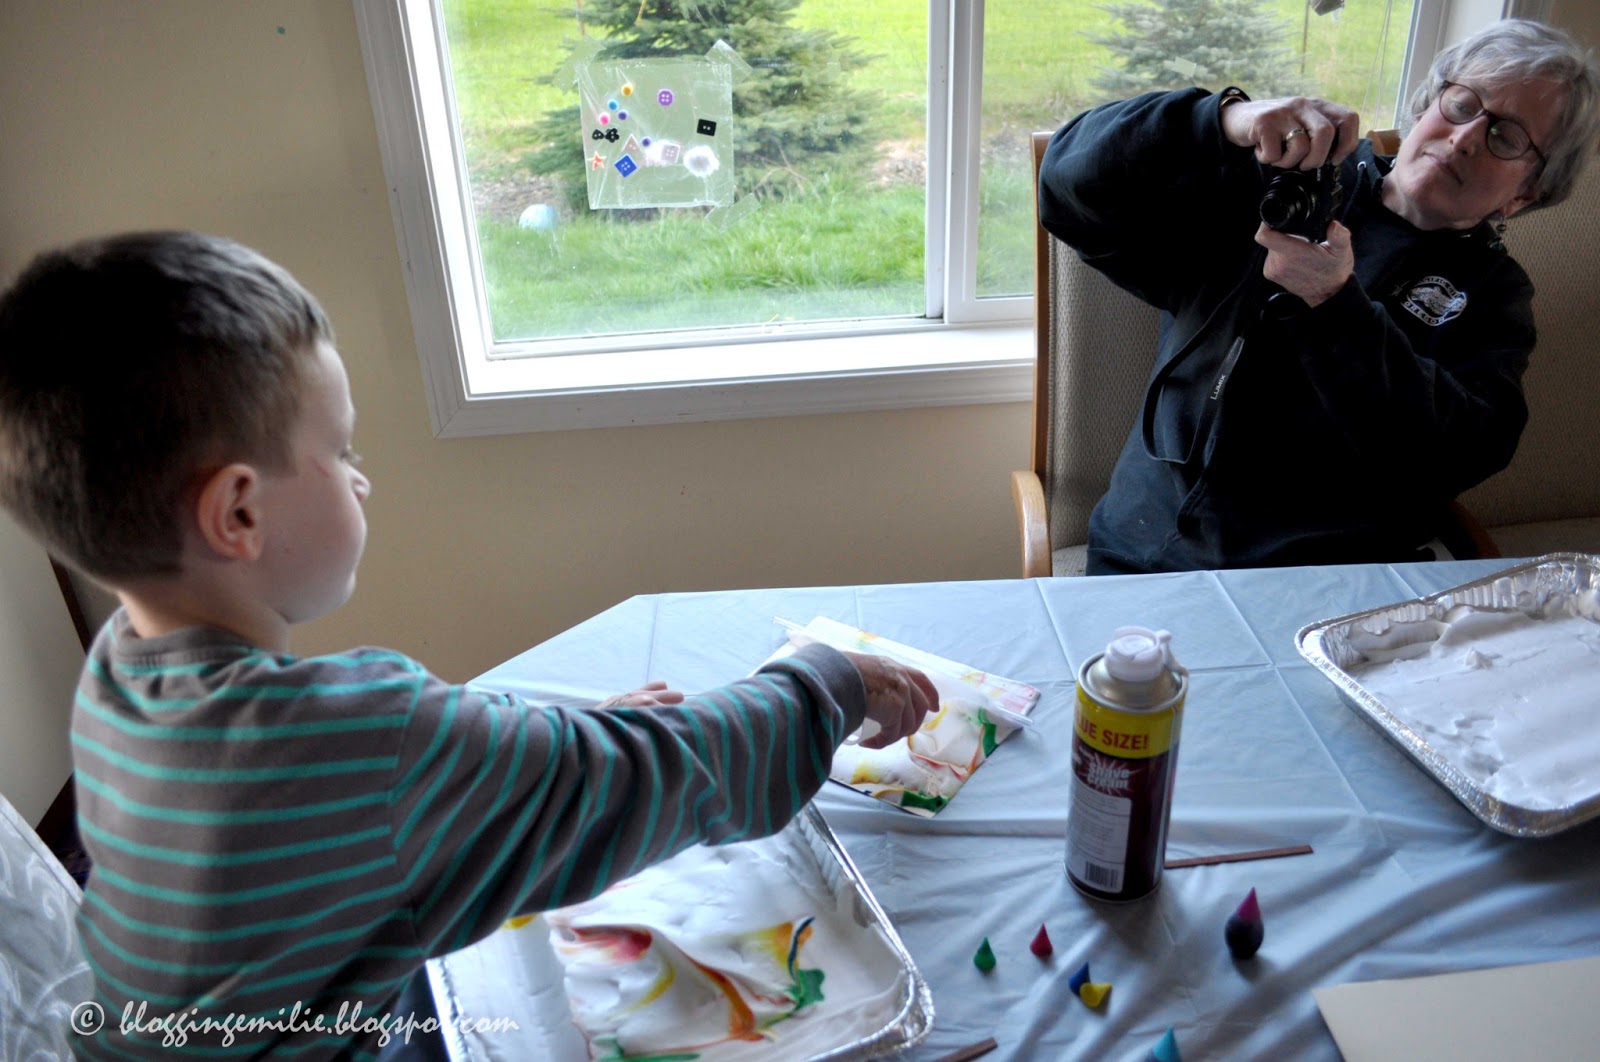
My Grandparents were visiting for a few weeks in March and my Grandma brought along some craft supplies and a project idea that she was just so excited to have everyone do. She set up by putting down a disposable table cloth a tin baking dish slightly larger than 8 by 10 and about 4 inches deep, cans of shaving cream, two boxes of food coloring, stir sticks, card stock paper cut to maybe 7 by 9 inches pieces, and a squeegee.
She had us fill the tin with a bunch of shaving cream and then flatten it out using the squeegee (or hands and by the way super flat is not that important here).
Next choose a few colors of food coloring and place a few drops around on the shaving cream. You want some space between the drops and you want it to span the entire pan.
Next take the stir stick and place in in the shaving cream and move it through the drops of food coloring to make a design, any design will do.
Next lay your paper down flat into the shaving cream and rub the back so that the front comes into complete contact with the shaving cream. Then pull it straight up and lay it on the table cloth.
Grab the squeegee and use it to carefully wipe away the foam.
Then set the paper out to dry and repeat as much as you want using the same shaving cream and just adding new colors or with all new shaving cream.
And Grandma (Great Grandma to some at the house) gets to start hers finally:
Super fun, good sensory play, color theory/naming/mixing, art project that can later be a writing project, because now we have lots of pretty paper to send letters with. :)


No comments:
Post a Comment